
Building a Building Kit
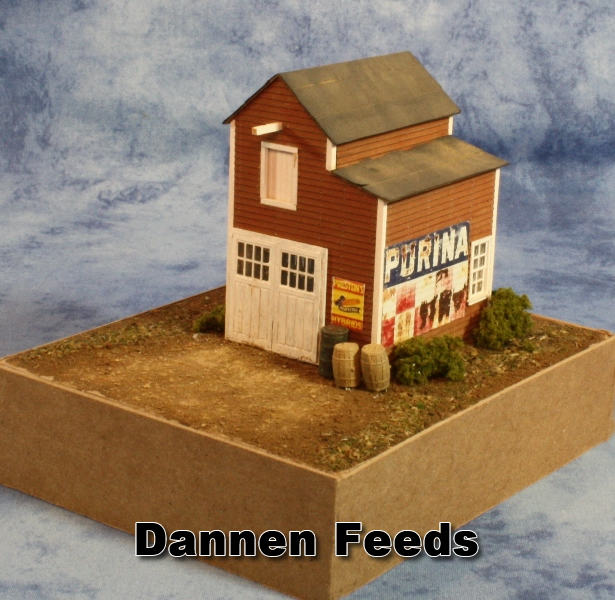
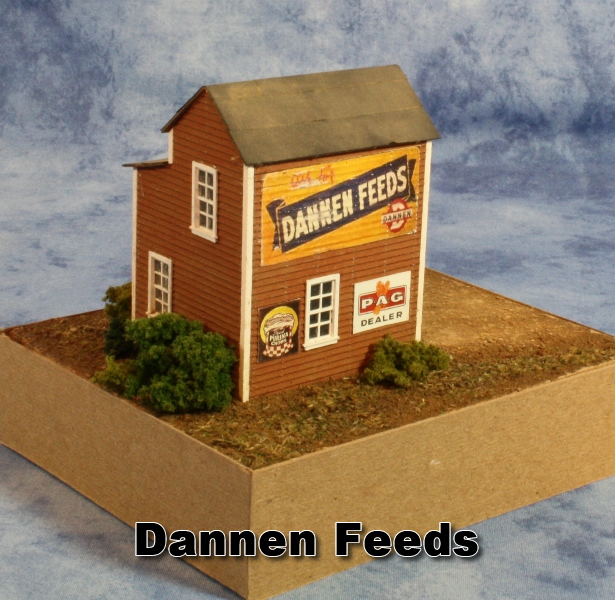
Instructions for assembling the Dannen Feeds kit
Simple To Build© kits from Railroad Kits!
Thanks to FOS Scale Limited
This is an easy-to-build laser cut wood kit, that should go together
with very little effort on your behalf, and explanation on our part.

We anticipate that you own the minimal tools and paints required to
assemble this kit. If you need a more thorough list, and would also
like to learn the basic techniques required to assemble wooden kits,
please refer to the DVD, "Better Easy Realistic Vol 4 - Building J.
Keen Supplies" available from http://railroadkits.com/. The difference between laser cut wood kits and plastic kits (other than the quality of the completed building) is the required painting. All wood lits require several painting steps. Small buildings, such as this, are excelent beginning projects.
Instructions for assembling the kit, Dannen Feeds
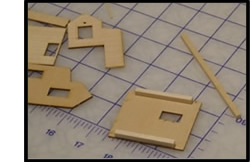
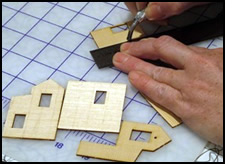
Step 1 Remove the five laser cut wall sections from the carrying wood. You
may elect to paint and weather your walls before bracing them, or after.
If afterwards, then go ahead an add the color of your choice.
Brace the walls with the 1/8th” square basswood provided. We braced the
peaked walls 1/8” from the edge to allow room for the side walls, and then added bracing to the side walls, as shown. You can also add bracing in the center of each side wall.
Step 2 We used the following technique to paint and weather our structure:
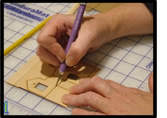
Add nails holes with a ponce wheel. Stain all five walls with a medium dilution of India Ink and rubbing alcohol (2 tsp ink to 1 pint alcohol). When this is dry, distress the walls by lifting some clapboards with the flat edge of a #17 X-Acto blade.
Next, paint the walls. We used an acrylic craft paint by Ceramcoat called
Barnyard Red on the pilot model. We painted this on in almost a drybrushed
manner to create a peeled paint effect.
Step 3 Take the two pieces of 1/16th” square basswood and stain them with your India Ink wash. For contrast, we then painted these trim pieces white using the same drybrushing technique used on the walls. When dry, cut and glue these pieces to the sides of the peaked walls where they meet the side walls. Don’t forget to add two pieces to the sides of the second floor wall. Also, you must attach a full-length piece of trim to the left side of the peaked wall that has the double door, as the door casting will attach to this piece of trim.
Step 4 Prime the window and door pieces with a spray can of gray
automotive primer. We recommend Dupli-Color, a brand available from the
auto parts stores because it has a fine spray nozzle. After the primer
dries, Spray these pieces with flat white enamel paint. We used Model
Masters Flat White.
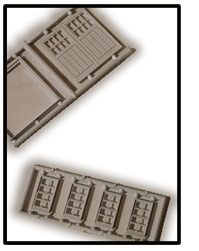
Step 5 We glazed the windows with a product called Pacer Industries
Formula 560 Canopy Glue. You may also use clear plastic and white glue to create your windows. When the glazing is installed, glue all the windows and doors into the openings in the walls.
Step 6 Using a metal square to make sure the walls are square and plumb,
glue the five wall sections together using white glue, Aleenes tacky glue or Canopy Glue.
Step 7 When the walls have dried, remove the two roof sections from the
cardstock provided. Paint the under side and edge with either black or the trim white paint. Score the peaked roof section along the line, bend, and glue
to the peaked roof. Next, glue the lower roof in place.
Paint the black construction paper rolled roofing flat black, grimy black
or dark gray if you'd like, and cut them into strips. Measure, cut and
glue these pieces to the two roofs.
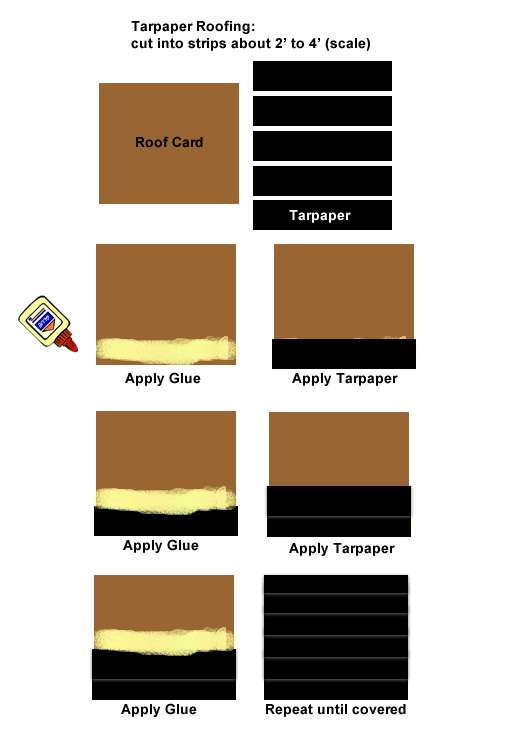
We weathered the rooled roofing with some gray and brown pastel chalks.
Step 8 Using a piece of the leftover 1/16th” square wood, cut a 3/8th”
piece, stain it with your India Ink, and glue it into the hole above the
second floor window on the door side of the building as a hoisting beam.
Step 9 We added some additional weathering by drybrushing Polly Scale Aged
White vertically on the clapboards, and Polly Scale Earth along the
windows and doors.


